
a step by step guide to building a raised bed

Here in Somerset UK, and indeed across the nation and world, it’s time to stay at home. In a strange turn of events, life has found a way to make us focus on other things. What better to turn our hand to than the garden, to growing vegetables, to nurturing flowers, and paying more attention to our natural world.
Growing vegetables has always been a reverie that allows me to be in awe, to be bathed in gratitude, all accompanied with that delightful fresh feeling that comes from new beginnings. The spring air is warming up, the breeze is fresh, the sun beams energy not just into our plants, but into us. We can start to get planting, growing what we hope will provide us with beauty and with food.
It’s almost as though we’re watching ourselves when we watch our plants. As they react and awaken to the new season with hope and vigour we are doing the same; wakening from our winter hibernation, very much ready for that warm light to nourish us. We’re providing warmth, light, and water to our seedlings but really it’s ourselves that we end up nourishing.
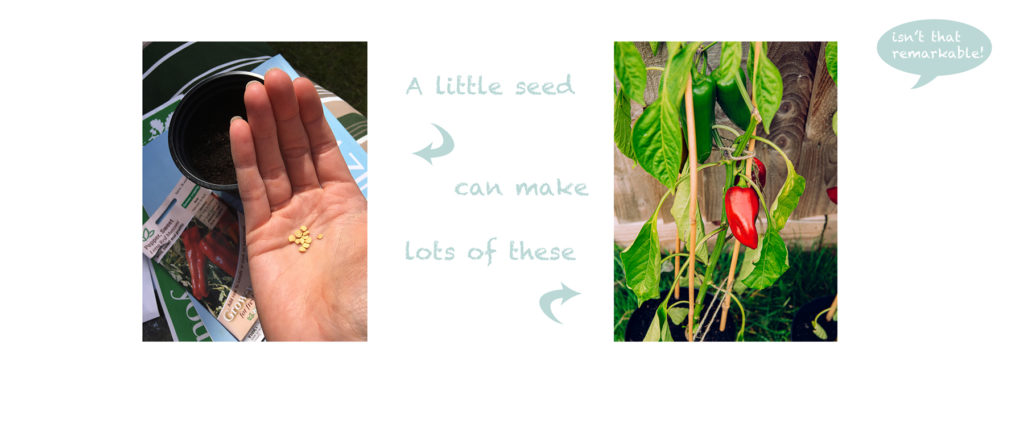
Starting with a seed, which is the epitome of hope and resilience, knowing that this tiny little thing has taken a fancy at becoming something not just beautiful in its form, but substantial to us providing much needed fresh food without going out to the shop.
We can’t now easily just go to the shops and pick whatever we want from a vast arrays of fruits and vegetables, we can’t even get easy access to home delivery. Now, more than ever in modern times, vegetable growing can have its time in the spotlight and gain the respect it deserves.
In this article I’ll show you how we did it, but that doesn’t mean it’s the only way to do it, or even that we did it correctly! The main thing is to enjoy creating something, knowing that it’ll be a great space for vegetable growing (or flowers!), and to spend time in the garden. If you don’t have access to the wood or to the tools we used there are plenty of ways to go about it. You could recycle old tubs and things found in the garden shed or garage.
Gardeners’ World has these nice words about raised beds: “Raised beds can be made from a number of materials, including scaffolding boards and breeze blocks, and can be as big, small, high or low as you need them.
They’re invaluable if you have poor soil, or have soil that doesn’t suit the plants you want to grow. Mediterranean plants, for example, are hard to grow in heavy, clay soils, but a raised bed filled with gritty compost solves the problem. Similarly, if you’re gardening on chalky, alkaline soil, you won’t be able to grow acid-loving plants such as blueberries and rhododendrons. But in a raised bed you can add ericaceous compost and grow a range of acid-loving plants.
Raised beds also warm up quickly in spring, making them ideal for sowing and growing veg.”

Tools we used..


1. Wood:
– decking board x 6 @ 143mm x 2400mm.
– slimmer decking boards x2 @ 100mm x 2400mm
– upright posts x 2 @ 68mm x 43mm x 2400mm
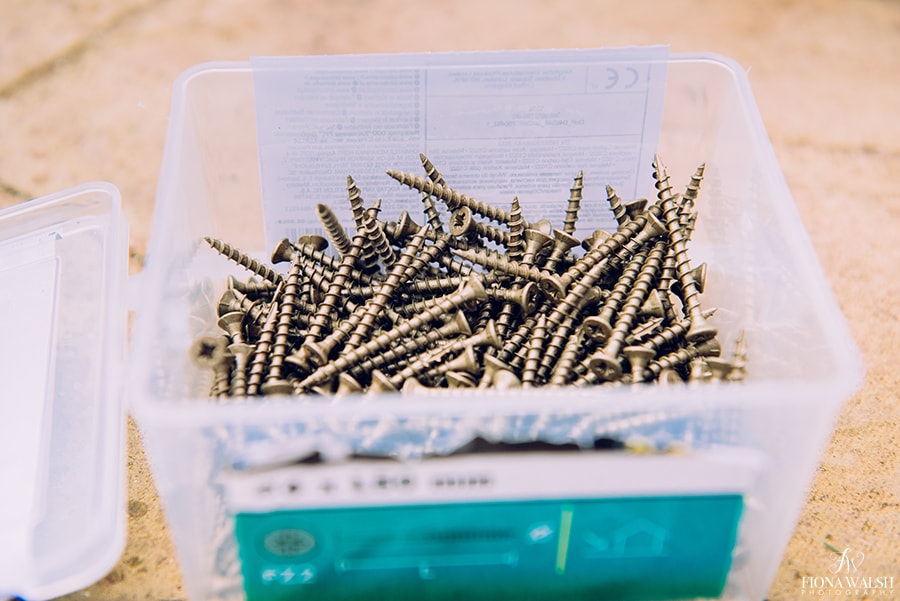
2. decking screws: 50mm
3. drill
4. tape measure and pencil
5. workbench (not a necessity)
6. hand saw
7. tea!

step 1

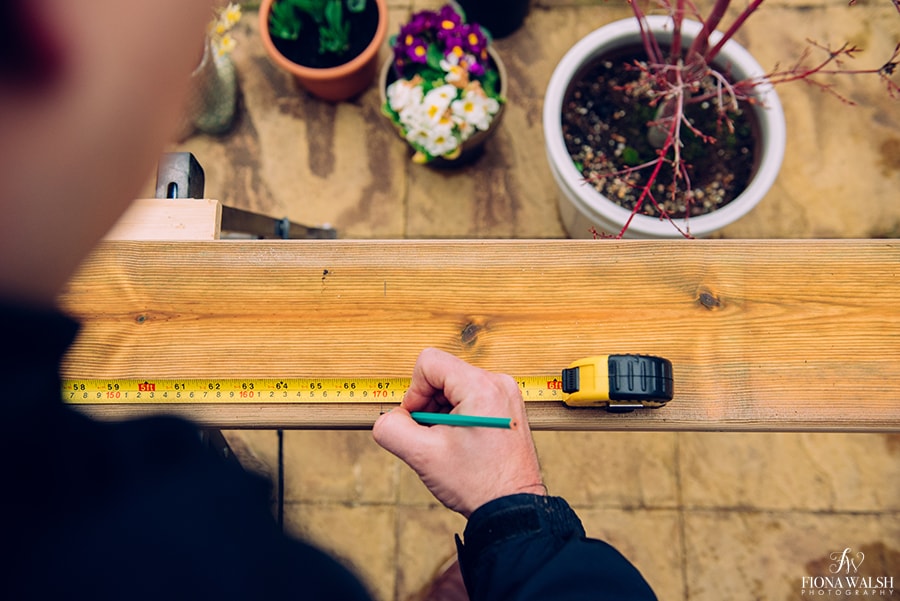
We decided to make our raised bed from decking boards, bought from B&Q. Each plank was 143mm wide and 2400mm long. We made the length of the bed 1700mm long and 700mm wide which meant that the whole plank was used with no wastage. For depth, we went for 3 planks which totals 429mm.
Start by measuring the planks to where you want to cut, for us we made a mark on the wood with a pencil at 1700mm.
You’ll also need to measure and mark the wood you bought for the upright posts. We cut them into 4 posts, measuring 429mm (height of the bed).
step 2


Get cutting! You’ll end up with 4 posts, long pieces for the length of the bed, and the short pieces for the width of the bed.
step 3
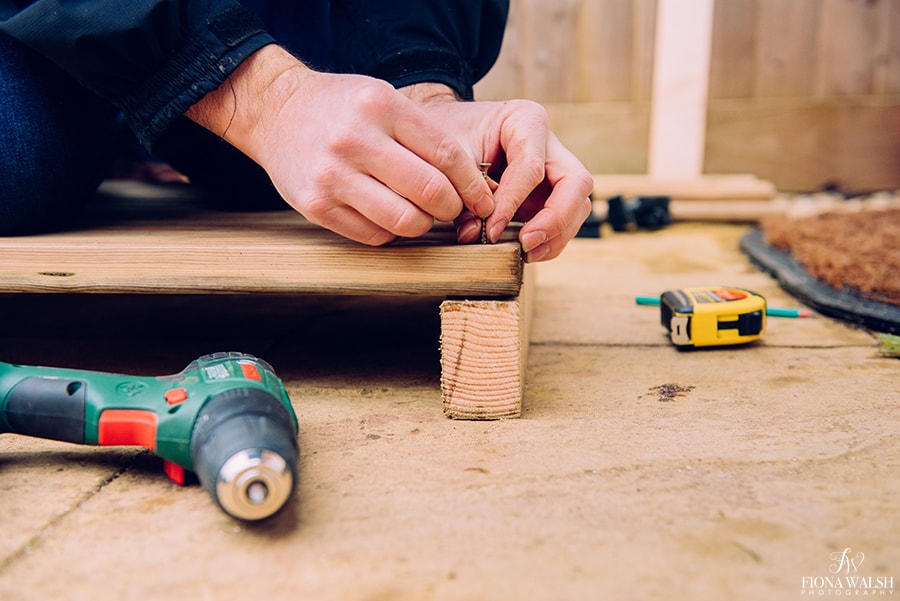


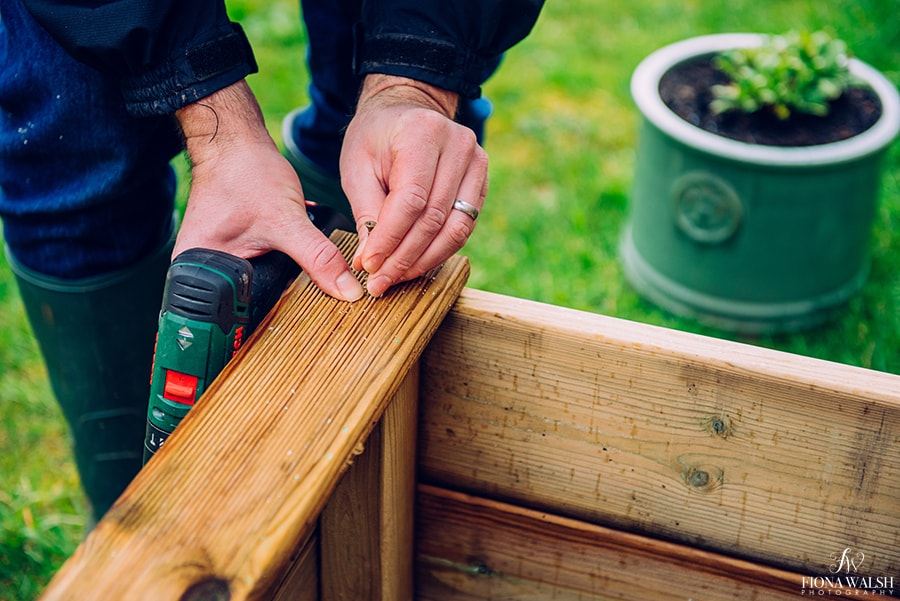
Use the decking screws to screw the short decking boards onto the upright posts. This will give you your 2 end panels of the bed.
step 4


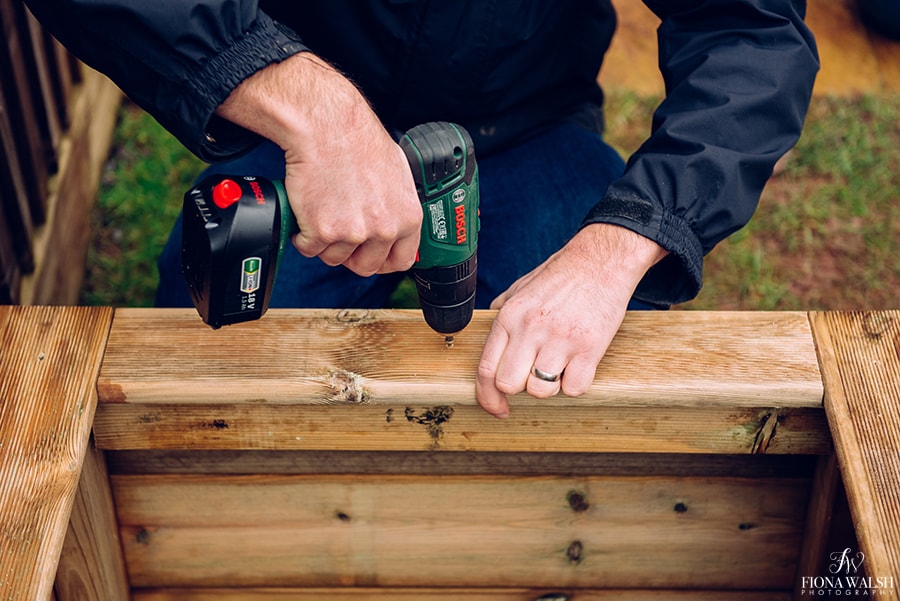
Position the long planks between the 2 end panels and screw them to the upright posts.
step 5

Turn it over and do the same again.
step 6


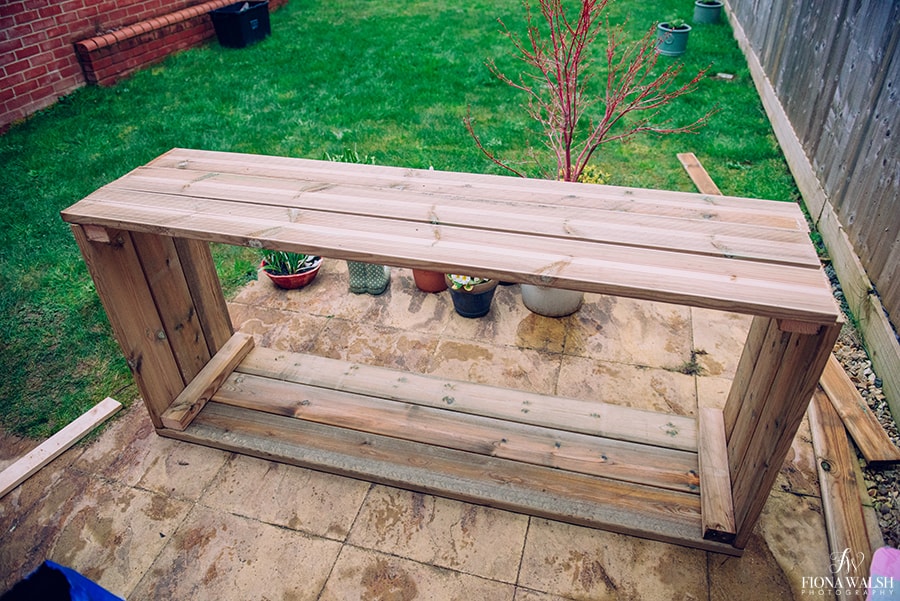
We decided to add a board around the edge, for a nice place to sit while we tend to our veg. Measure and cut these boards to fit the length and width of the bed. Then screw them down.
step 7


For the two sides we cut some wood and screwed it as a support for the sitting board, and then screwed the sitting board in place. Ta-da! It’s ready! Fill with soil!
We’re going to be making a potting table next, so please follow me on socials! As the year goes by I’ll be growing veg, so do stick around to see how I get on with growing veg in our new raised bed.